

Irish Soda Bread
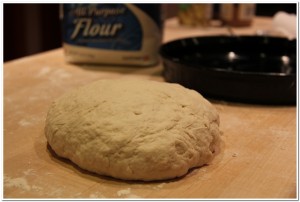
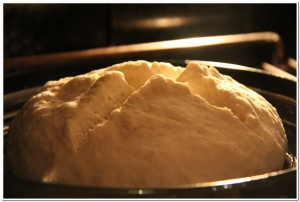
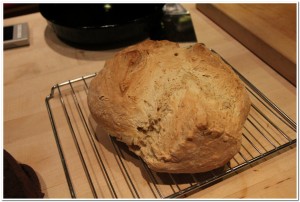
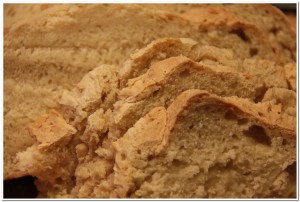
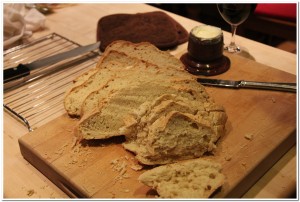
This was the simplest bread recipe I’ve ever tried. With five basic ingredients you can’t go wrong. Flour, salt, sugar, baking soda, and buttermilk is all it takes.
My dad used to make bread on Sunday night. He would combine the ingredients and leave the loaves to rise a while. Then when they were ready he would bake 6 loaves. We had fresh bread around the house for years. His recipes were more involved that the Irish Soda Bread I’ve made here.


Rugelach
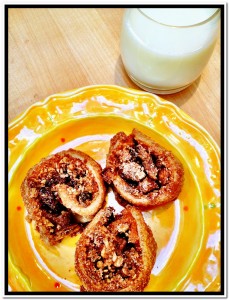
After all the hard work Maureen told me to remove these little things from the house before she eats them all!
Baking this cookie was involved. Anytime something has to be room temperature or chilled overnight it messes up my timing. I broke this project into stages over three days which really helped.
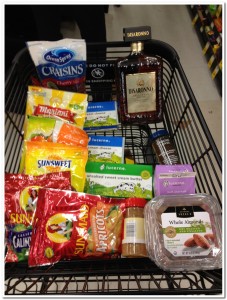
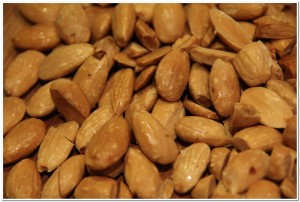 Blanching and toasting this many almonds is a lot of work. I’m glad this recipe didn’t call for blanched walnuts!
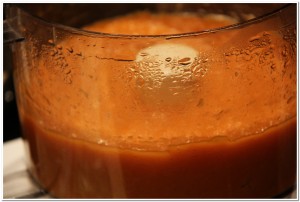
The apricot levkar turns into a gooey chewy fruity goodness that is spread on dough.
Time consuming, expensive and totally worth it.


White Bread
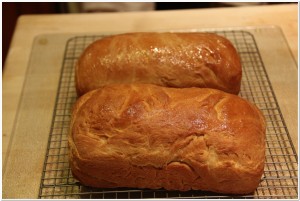
I started out the Tuesdays with Dorie project on a very simple bread recipe. I plan to bake twice a month and post the results here on my blog. If you want to follow along check out this link. If you want to join in I encourage you to buy the book.


Baking with Julia: Chocolate Truffle Tartlet
Chocolate Truffle Tartlets
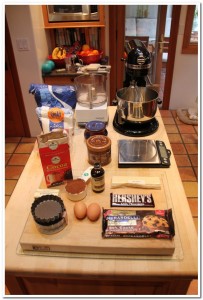
It’s time for next baking project along with everyone over at Tuesdays with Dorie. We’re all doing David Ogonowski’s Chocolate Truffle Tartlets, and they are very intense in flavor. Don’t take my word, just look over ingredients in the recipe below.
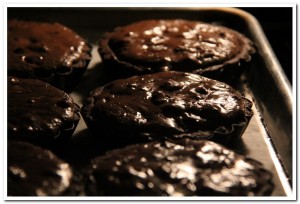
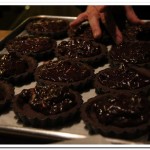
Take a look at these beautiful Tartlets. They are very rich and can certainly shared with a loved one. We were off to a dinner party so I made a double batch with the help of my daughter Colette.
recipe by David Ogonowski in Baking with Julia by Dorie Greenspan.
for the chocolate dough
1-1/4 cups all-purpose flour
1/4 cup unsweetened cocoa powder, preferably Dutch-processed
1/4 cup sugar
1/4 tsp salt
1 stick (4 oz) cold unsalted butter, cut into small pieces
1 large egg yolk
1 tbsp ice water
for the truffle filling
5 tbsp unsalted butter, cut into 10 pieces
6 oz bittersweet chocolate, finely chopped
8 large egg yolks
1 tsp vanilla extract
¼ cup sugar
2 oz white chocolate, cut into small dice
2 oz milk chocolate, cut into small dice
4 biscotti, homemade or store-bought (you can use amaretti di Saronno), chopped
-To make the dough in a food processor: Put the metal blade in the processor and add the flour, cocoa, sugar, and salt. Pulse just to blend. Add the butter and pulse 8 to 10 times, until the pieces are about the size of small peas. With the machine running, add the yolk and ice water and pulse just until crumbly – don’t overwork it. Turn it out onto the work surface and, working with small portions, smear the dough across the surface with the heel of your hand. Gather the dough together and shape it into a rough square. Pat it down to compress it slightly, and wrap it in plastic. Chill until firm, at least 30 minutes. The dough will hold in the refrigerator for 3 days, or it can be wrapped airtight and frozen for a month. Thaw the dough, still wrapped, overnight in the refrigerator before rolling it out.
-To make the dough by hand: Put the flour, cocoa, sugar, and salt on a smooth work surface, preferably a cool surface such as marble. Toss the ingredients together lightly with your fingertips, then scatter the butter pieces across the dry ingredients. Use your fingertips to work the butter into the flour mixture until it forms pieces the size of small peas. Then use a combination of techniques to work the butter further into the flour: Break it up with your fingertips, rub it lightly between your palms, and chop it with the flat edge of a plastic or metal dough scraper. Gather the mixture into a mound, make a volcano-like well in the center, and pour in the yolk and ice water. Use your fingers to break up the yolk and start moistening the dry ingredients. Then, just as you did with the flour and butter, toss the ingredients with your fingers and use the dough scraper to chop and blend it. The dough will be crumbly and not really cohesive. Bring it together by smearing small portions of it across the work surface with the heel of your hand. Gather into a square and chill as directed above.
-Line a jelly-roll pan with parchment paper and keep at hand. Remove the bottoms from six 4 ½-inch fluted tartlet pans (or use pans with permanent bottoms and just plan to pop the tartlet out once they’re filled, baked, and cooled); spray the pans with vegetable oil or brush with melted butter.
-Cut the dough into 6 even pieces. Working with one piece at a time, shape the dough into a rough circle, then tamp it down with a rolling pin. Flour the work surface and the top of the dough and roll it into a circle about 1/8 to ¼- inch thick. As you roll, lift the dough with the help of a dough scraper to keep it from sticking. If the dough breaks (as it sometimes does), press it back together and keep going-it will be fine once it’s baked. Fit the dough into a tartlet ring, pressing it into the fluted edges and cutting the top level with the edges of the pan. Again, patch as you go. Use a pastry brush to dust off any excess flour and place the lined tartlet ring on the prepared baking pan.
-When all of the shells are rolled out and formed, chill them for at least 20 minutes.
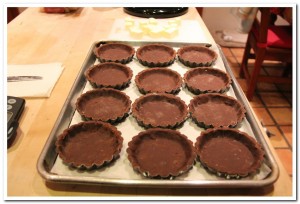
-Center a rack in the oven and preheat the oven to 350°F. Prick the bottoms of the crusts all over with the tines of a fork and bake for 12 to 15 minutes, rotating the pan halfway through the baking time, until the crusts are dry, blistery, and firm. Transfer the baking pan to a rack so that the crusts can cool while you make the filling. Reduce the oven temperature to 300°F.
-Bring an inch of water to the simmer in a saucepan. Put the butter and bittersweet chocolate in a large metal bowl and place the bowl over the saucepan-don’t let the metal bowl touch the water. Allow the chocolate and butter to melt slowly, stirring from time to time, as you work on the rest of the filling. Remove the chocolate from the heat when it is melted and allow it to cool until it is just slightly warmer than room temperature.
-Put the yolks and vanilla extract in the bowl of a mixer fitted with the whisk attachment or in a large mixing bowl. Using the whisk or a hand-held mixer, start beating the yolks at medium speed and them, when they are broken up, reduce the speed to low and gradually add the sugar. Increase the speed to medium-high and beat the yolks and sugar until the yolks thicken and form a slowly dissolving ribbon when the beater is lifted.
-Spoon about one third of the yolks onto the cooled chocolate mixture and fold them in with a rubber spatula. Don’t worry about being too thorough. Pour the chocolate into the beaten yolks and gently fold the two mixtures together until they are almost completely blended. Add the cubed chocolates and biscotti, folding to incorporate the chunky pieces.
- Using an ice cream scoop or ¼ cup measure, divide the filling evenly among the cooled shells. Smooth the filling with a small offset spatula, working it into the nooks and crannies as you circle the tops of the tarts. Bake the tarts for 10 to 12 minutes, until the tops look dry and the filling is just set. Remove to a rack to cool for about 20 minutes before serving.
-Best the day they’re made, these are still terrific after they’ve been refrigerated—they lose their textual finesse, but the taste is still very much there. For longer keeping, wrap the tartlets airtight and freeze them for up to a month. Thaw, still wrapped, at room temperature.


DIY Geiger counter
John Baichtal says: “MAKE’s interview with hardware hacker Akiba highlighted a fascinating trend: individuals and small groups taking their safety into their own hands by creating, modifying, and networking radiation detectors, a.k.a. Geiger counters, rather than relying on governments for information. The following kit aims to put Geiger counters in the hands of ordinary makers.”


